Hello World!
I have made myself a butt bench, and life is good.
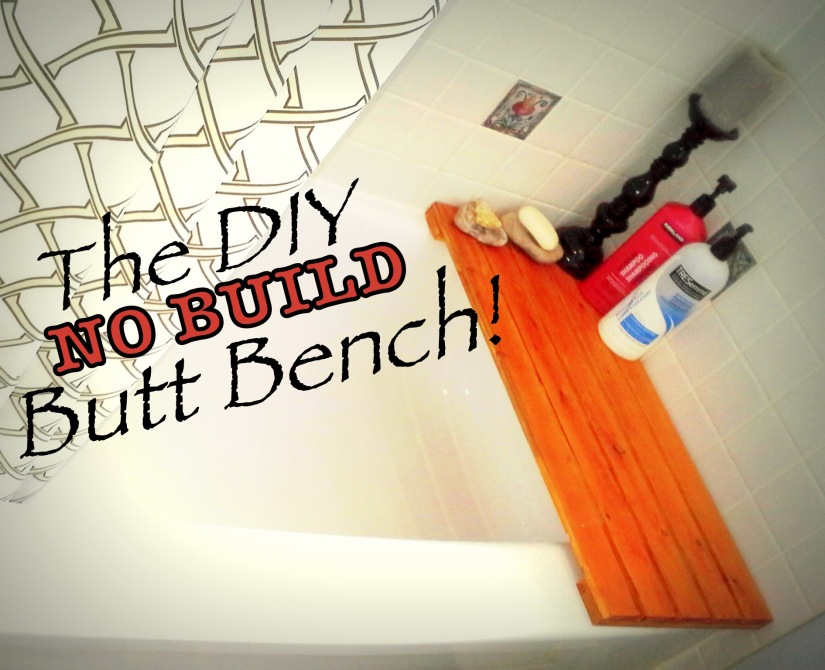
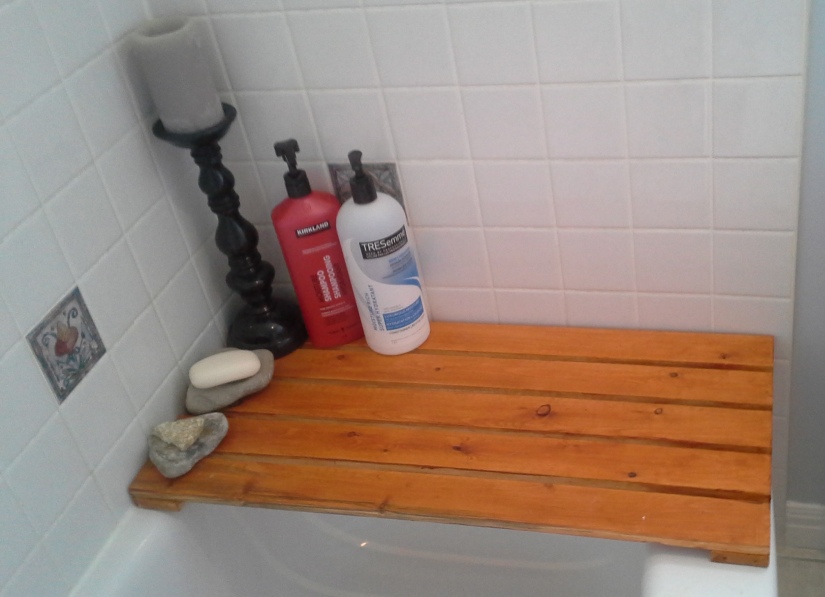
What is a butt bench you ask? This is a butt bench:

It’s a bathtub bench and I’ve wanted one for so long. Now, you ask why would I ever want to sit in the shower?
It’s not just for sitting, my dear…
Oh no, no, no, it can be used as a caddy/storage unit for your toiletries, a leg lift to aid shaving, a table during a bath, a place to sit for a foot bath, a place to rest whilst waiting to scare my fiancé…the benefits are endless!
And it looks great!
And yes, maybe I would like to sit in the shower once in a while and I just never thought about it because the possibility wasn’t there!
Like I said, I’ve always wanted one, but it was a “pricey perk” not a necessity so I never got one… till this happened today.
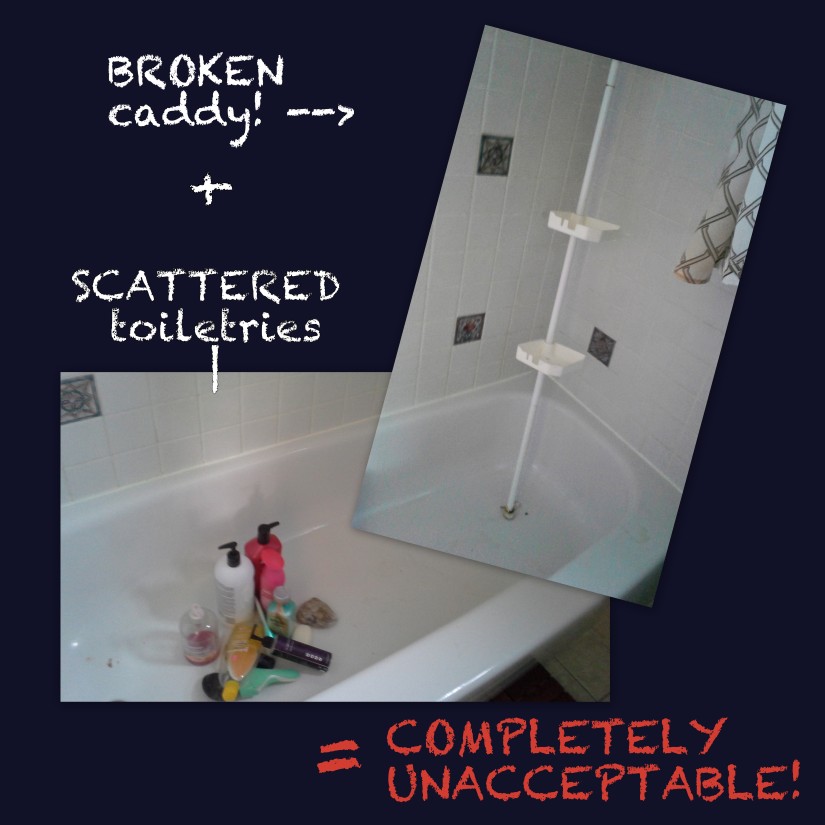
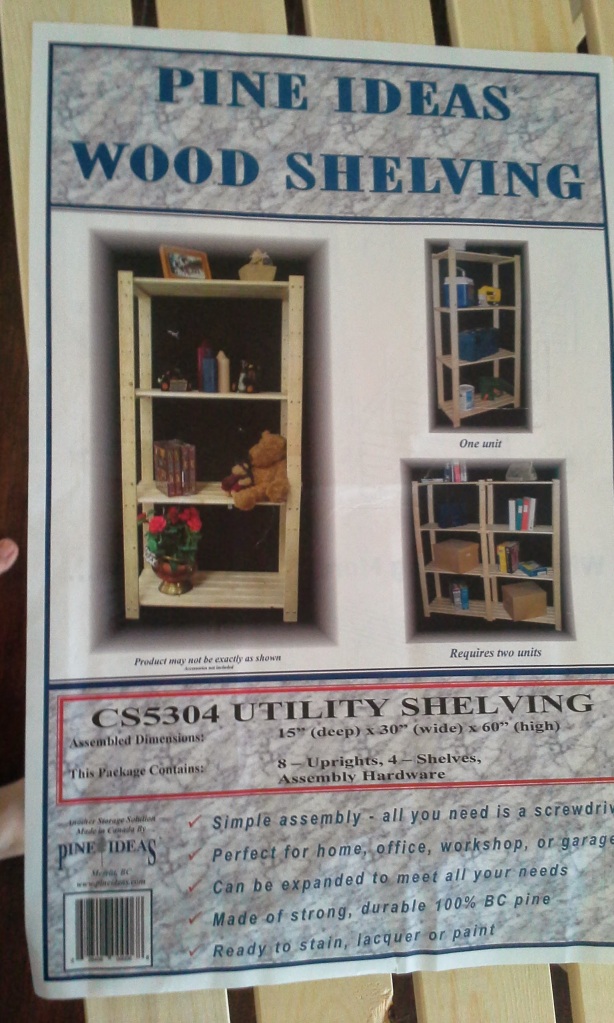
The shower caddy broke when I was cleaning out the guck buildup on it. That shower caddy has been there for a while and was a remnant from the previous owners. I hated it, all plasticky and meh, but it serve it’s purpose so I let it stay. Anyway, it broke and I thought about my beloved Butt Bench once again. The problem was that it would set me back a whopping $85. The bench only costs about $40, it was the shipping from the States to Canada that would hurt. Plus, I could not, would not, refused to pump shampoo from the bathtub floor for 2 weeks while waiting for a Butt Bench. So I decided to build one. While I was thinking about how I would construct it, something caught my eye, it was a shelving unit that we recently bought and it was shining brightly like a beacon in the night.
Mmm, yes, you see where I’m going with this.
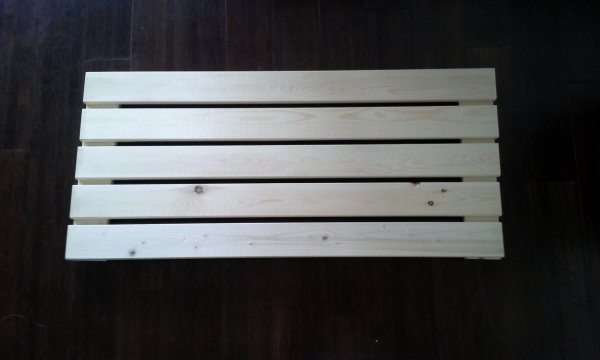
I put it down one and sat on it.
It was perfect.
Fit perfect, looked perfect.

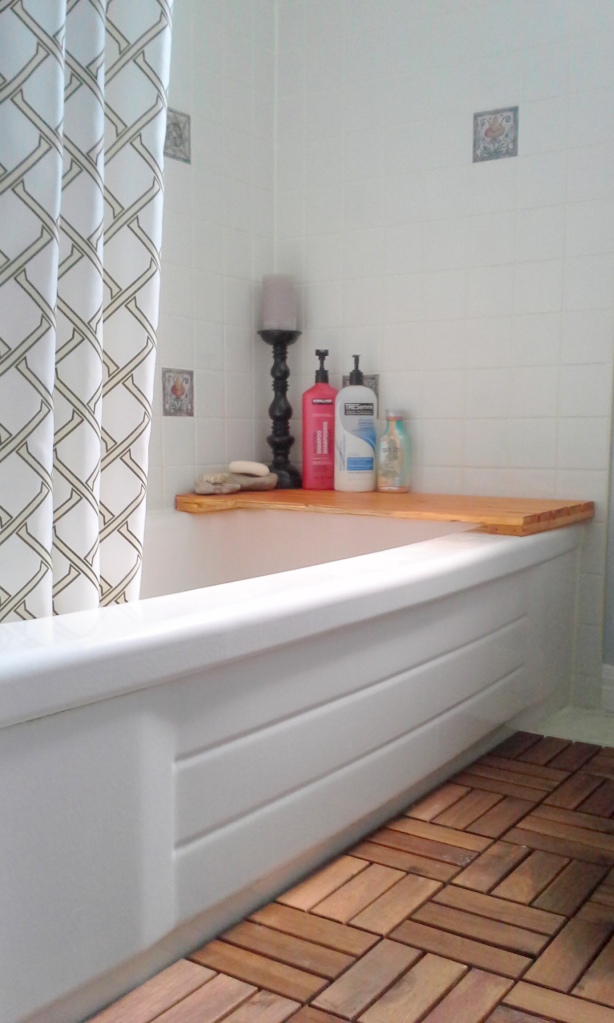
And now I can sit in the shower whenever I want!
And there you have it, how to make The NO BUILD Butt Bench. Technically speaking, someone did put it together (build it) for you, but you didn’t have to do it, hence, NO BUILD (on your part). I did paint mine with some leftover weatherproofing deck cedar stain since it was going to be in contact with water lots. The shelf of the unit I have measures 15″ x 30″ and we bought it on sale for $10 at Lowe’s (sure beats $85). If you can’t find the shelving unit I used at Lowe’s, you can probably use this GORM one from Ikea to a similar effect for $25. The only difference is it has 3 panels instead of 5 and it’ll be a little shorter than the one I have. A word of caution here, the real Butt Bench has suction cups which mine doesn’t. It helps secure the bench and prevents it from sliding around. You can easily add your own with a little ingenuity, however, I opted no suction cups since I want to move it around when I have a bath to use it as a table and I’ll be extra careful. Also, this version isn’t weight tested. I mean I sat on it and my fiancé sat on it, so tests up to 170 pounds, but if you’d like to try this out, please make sure you test it out yourself and take all necessary precautions so that you may enjoy your butt bench to the fullest.
Don’t worry. The three extra shelves I had leftover did not go to waste. More on that later.


 Hey Everybody!